

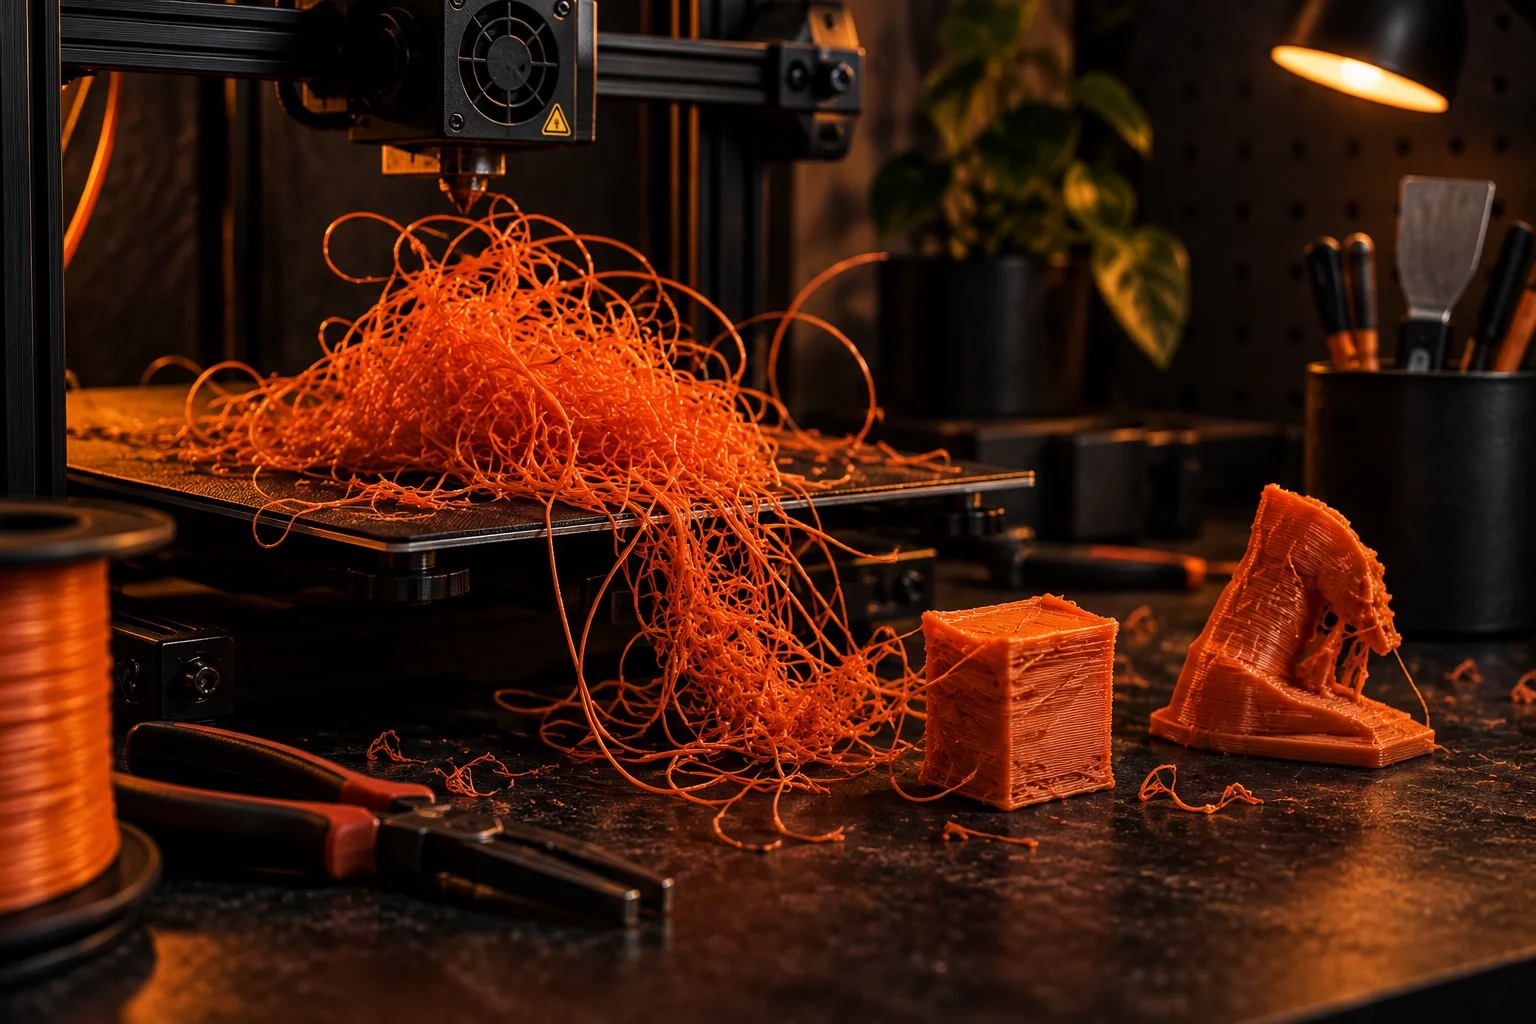
The Graveyard of Failed Prints: The Reality of 3D Printing
Social media makes 3D printing look like magic, just click a button and a perfect object magically appears on the build plate. But if you have ever owned a 3D printer, you know the harsh reality: 3D printing is chaotic, messy, and requires intense patience.
Welcome to our Graveyard of Failed Prints. Behind every pristine architectural model or custom lithophane that leaves our shop in Secunderabad, there is a mountain of failed tests, mangled plastic, and enough "spaghetti monsters" to fill a museum.
Let us take you behind the scenes of what goes wrong, and more importantly, what we do to make sure it never happens to your order.
The Spaghetti Monster
This is the most famous 3D printing failure, and for good reason, it is spectacular.
What happens: The first layer of the print loses adhesion to the build plate. Maybe the bed was not perfectly level, maybe the nozzle was too far from the surface, or maybe a draft of air cooled the plastic too quickly. The printer keeps extruding plastic into thin air, creating a tangled mess of filament that looks exactly like a plate of spaghetti.
Why it happens:
- Bed not properly leveled or calibrated
- Build plate surface not clean (even fingerprints cause adhesion failure)
- Wrong nozzle temperature for the first layer
- Ambient temperature changes (AC turning on suddenly)
How VR1 prevents it: We clean our build plate with isopropyl alcohol before every single print. We run a full bed leveling routine before every job. And we use a heated bed at precisely the right temperature for each material, 60°C for PLA, 80°C for PETG. For tricky prints, we add a brim (a wider flat base) that gives the print extra grip on the bed.
Layer Shifting: The Silent Killer
Layer shifting is the cruelest failure because it usually happens near the end of a long print.
What happens: The print is running beautifully for 15 hours. Every layer is perfect. Then, around layer 800, the printer's stepper motor loses a step. The print head shifts 2mm to the right. Every subsequent layer is offset, creating a twisted, unusable object.
Why it happens:
- Loose or overtightened belts on the printer's gantry
- Print head moving too fast for the filament type
- Mechanical binding or friction on the linear rods
- Power fluctuations (common in residential areas)
How VR1 prevents it: Our FDM printer has a robust motion control system with belt tension monitoring. We keep speeds moderate, we would rather a print takes 20 hours and succeeds than 15 hours and fails at 90%. We also use a dedicated power supply with surge protection, which matters especially during Hyderabad's monsoon season when power dips are common.
Stringing: The Hairy Mess
Stringing is the most annoying failure because the print technically succeeds, it just looks terrible.
What happens: As the print head moves from one point to another without extruding, melted plastic leaks out, leaving thin strands of filament stretching between features. The result looks like a hairy plastic object.
Why it happens:
- Retraction settings not tuned properly
- Nozzle temperature too high
- Printing too fast between separate features
- Wet filament (moisture absorbed from humid air)
How VR1 prevents it: We dial in retraction distance and speed for every filament spool. We store our filaments in dry boxes with silica gel packets, essential in Hyderabad's humidity. And we calibrate temperature towers for each new spool to find the sweet spot between layer adhesion and oozing.
First Layer Failure: The Foundation Problem
What happens: The entire print lifts off the bed, curling at the edges. This is especially common with large flat objects like photo lamps or architectural bases.
Why it happens:
- The bed temperature is inconsistent across the surface
- The first layer is printed too fast
- The filament shrinks as it cools, pulling the corners upward
- The build plate adhesive (glue stick or tape) has worn off
How VR1 prevents it: We use a textured PEI build plate that grips PLA naturally. For large prints, we add mouse ears (small circular tabs at corners) and a 5mm brim. And we always print the first layer at 50% speed and 110% line width to ensure maximum bed adhesion.
The Calibration Phase
Before any customer order hits our printer, it goes through a rigorous calibration process:
- File Check: We inspect the STL for non-manifold edges, flipped normals, and holes in the mesh.
- Slicer Analysis: We simulate every layer in the slicer to spot potential overhangs, bridges, and support failures.
- Test Cube: For new filaments or complex geometries, we print a 20mm calibration cube to verify dimensional accuracy.
- Small Test Run: For lithophane lamps or multi-part designs, we print a small test section before committing to the full 18-hour print.
- Live Monitoring: During the print, we keep an eye on it via a live camera feed. If something looks wrong, a curl forming, a support breaking, we pause and fix it before it becomes a failure.
Why This Matters to You
Every failed print we have ever had has taught us something. And that accumulated knowledge means your order is far less likely to fail than if you tried printing it yourself at home.
When you order from VR1 Prints, you are paying for:
- Thousands of hours of troubleshooting experience
- A perfectly calibrated FDM printer
- Proper filament storage (essential in Hyderabad's humid climate)
- Someone who knows exactly when to use a brim vs a raft vs no adhesion aid
- Post-print finishing: support removal, sanding, and quality inspection
You skip the graveyard entirely. You just get the final, perfect result delivered to your door across Hyderabad and India.
FAQ
Q: How often do prints fail at your studio?
A: We test and dial in every design before offering it, and any print that falls short of our quality bar is reprinted before it ships. That is how we keep failures from ever reaching you.
Q: What happens if my custom order fails during printing?
A: We reprint it at no extra cost. If the print fails due to a machine issue or material defect, we cover the cost and redo the print. You only pay for successful, quality-inspected products.
Q: Can I visit your studio to see the printing process?
A: Absolutely. We operate from Kowkoor, Secunderabad. If you place an order and choose local pickup, you are welcome to see your item being printed. Just message us on WhatsApp to schedule a visit.
Q: Do you offer rush printing for urgent orders?
A: Yes. For students who need prototypes for college project submissions, we offer priority queue placement. Just let us know your deadline and we will make it work.
Q: What quality guarantee do you offer?
A: Every item passes visual inspection, dimensional check, and function test before dispatch. If there is any defect in print quality, layer gaps, rough surfaces, warping, we fix or reprint it before shipping. Your satisfaction is our reputation in the Secunderabad community.
Ready to skip the graveyard? Message us on WhatsApp with your idea, and we will handle the rest, from file optimisation to flawless printing.